How I Connected My Application to the Kite API
The first time I opened Zerodha's Kite Connect docs, the login flow felt like more ceremony than it needed to be — an app key, a secret, a redirect, a checksum, a token exchange, all before you can even ask "what's in my portfolio?" Once I actually wired it end to end, though, it turned out to be a handful of well-defined steps, each with one job. Here's the exact path I took, with the code for every action along the way.
01Register an app on the developer console
Everything starts at the Kite Connect developer console. You'll need an active Kite Connect subscription tied to your Zerodha account. Create a new app and fill in:
- Redirect URL — where Zerodha sends the user back after login (this can be a local URL like
http://localhost:5000/callbackwhile you're developing). - App type — usually "Connect" for a personal trading app.
Once approved, you get two values you'll use constantly: an API key and an API secret. Treat the secret like a password — it never leaves your server.
02Install the SDK
Zerodha maintains an official Python SDK that wraps the raw REST endpoints, so I skipped hand-rolling HTTP calls.
pip install kiteconnect03Build the login URL
Kite Connect uses a browser-based login — your app can't just POST a username and password. Instead, you generate a login URL, send the user to it, and Zerodha handles authentication on their end.
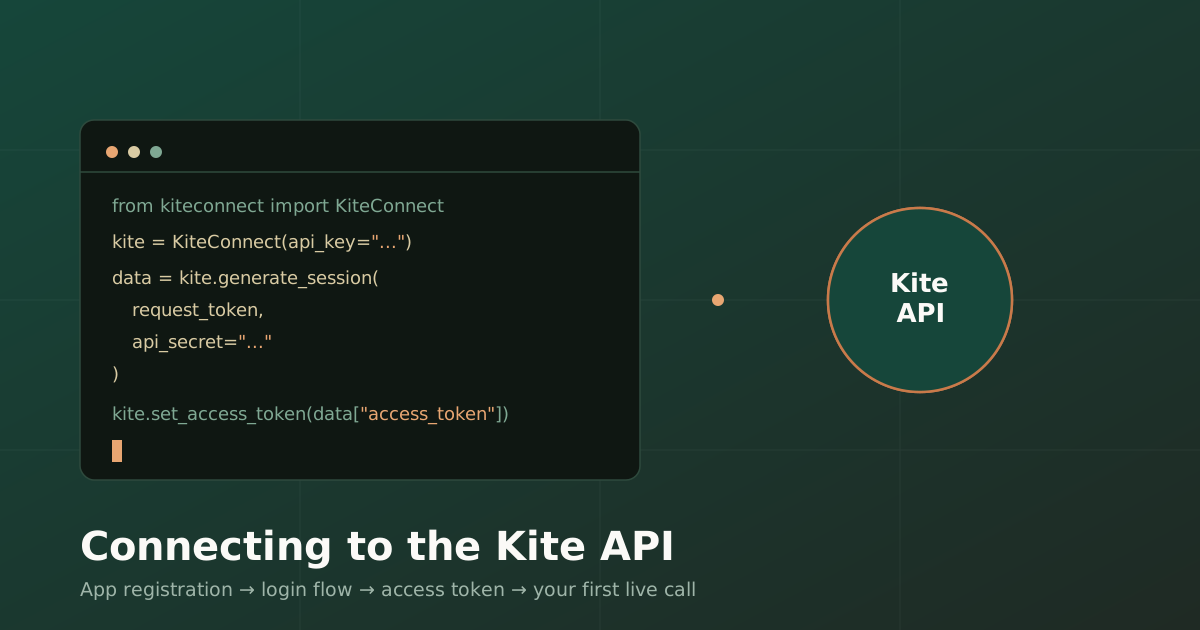
from kiteconnect import KiteConnect

kite = KiteConnect(api_key="your_api_key")
print(kite.login_url())
Opening that URL prompts the familiar Zerodha login + two-factor screen. This is also the step where, if you're building for yourself rather than end users, you'll just open it in your own browser once per session.
04Capture the request token from the redirect
After a successful login, Zerodha redirects the browser to the Redirect URL you registered, appending a request_token as a query parameter:
http://localhost:5000/callback?request_token=abc123xyz&action=login&status=successIf your redirect URL is a real server route, a minimal Flask handler is enough to grab it:
from flask import Flask, request

app = Flask(__name__)

@app.route("/callback")
def callback():
    request_token = request.args.get("request_token")
    # hand this off to the session-generation step
return f"Received token: {request_token}"05Exchange the request token for an access token
This is the actual handshake — trading the temporary request token, along with your API secret, for a longer-lived access token that authorizes every subsequent call.
data = kite.generate_session(
    request_token,
    api_secret="your_api_secret"
)

access_token = data["access_token"]
kite.set_access_token(access_token)
Under the hood, the SDK computes a SHA-256 checksum of the API key, request token, and secret, and posts it to Zerodha's token endpoint — so you never have to build that yourself.
06Store the access token so you're not logging in every run
The access token is valid until the next trading day's early-morning reset, so I cache it instead of regenerating a session on every script run.
import os

os.environ["KITE_ACCESS_TOKEN"] = access_token

# on the next run
kite.set_access_token(os.environ["KITE_ACCESS_TOKEN"])
For anything beyond a personal script, swap the environment variable for a small encrypted store or secrets manager rather than a plaintext file.
07Make your first authenticated call
With the access token set, the client is live. A profile check is the simplest way to confirm the whole chain worked:
profile = kite.profile()
print(profile["user_name"], profile["email"])08Pull real portfolio data
From here, the rest of the SDK opens up — holdings, positions, and order history all follow the same pattern of one method call returning structured JSON.
holdings = kite.holdings()
for h in holdings:
    print(h["tradingsymbol"], h["quantity"], h["average_price"])

positions = kite.positions()
print(positions["net"])09Placing an order
Order placement uses the same authenticated client, but it's the one call where a typo has real consequences, so I always test with a small quantity first.
order_id = kite.place_order(
    variety=kite.VARIETY_REGULAR,
    exchange=kite.EXCHANGE_NSE,
    tradingsymbol="INFY",
    transaction_type=kite.TRANSACTION_TYPE_BUY,
    quantity=1,
    order_type=kite.ORDER_TYPE_MARKET,
    product=kite.PRODUCT_CNC
)
print("Order placed, id:", order_id)product, exchange, and transaction_type match your intent before running it against a real account.Gotchas I ran into
- Daily re-authentication — the access token expires around the market's early-morning reset, so any scheduled script needs a way to refresh the session rather than assuming yesterday's token still works.
- Rate limits — Kite Connect enforces per-second and per-day request caps; batching quote lookups instead of looping one symbol at a time avoids hitting them.
- Redirect URL mismatches — the URL you registered on the developer console has to match exactly (including trailing slashes) with what your app uses, or the login redirect silently fails.
Once the session handshake is automated, the rest of Kite Connect is genuinely pleasant to build on — the SDK's method names map closely to what you'd expect, and the JSON responses are clean enough to drop straight into a pandas DataFrame if you're doing any analysis on top.